Blog Details
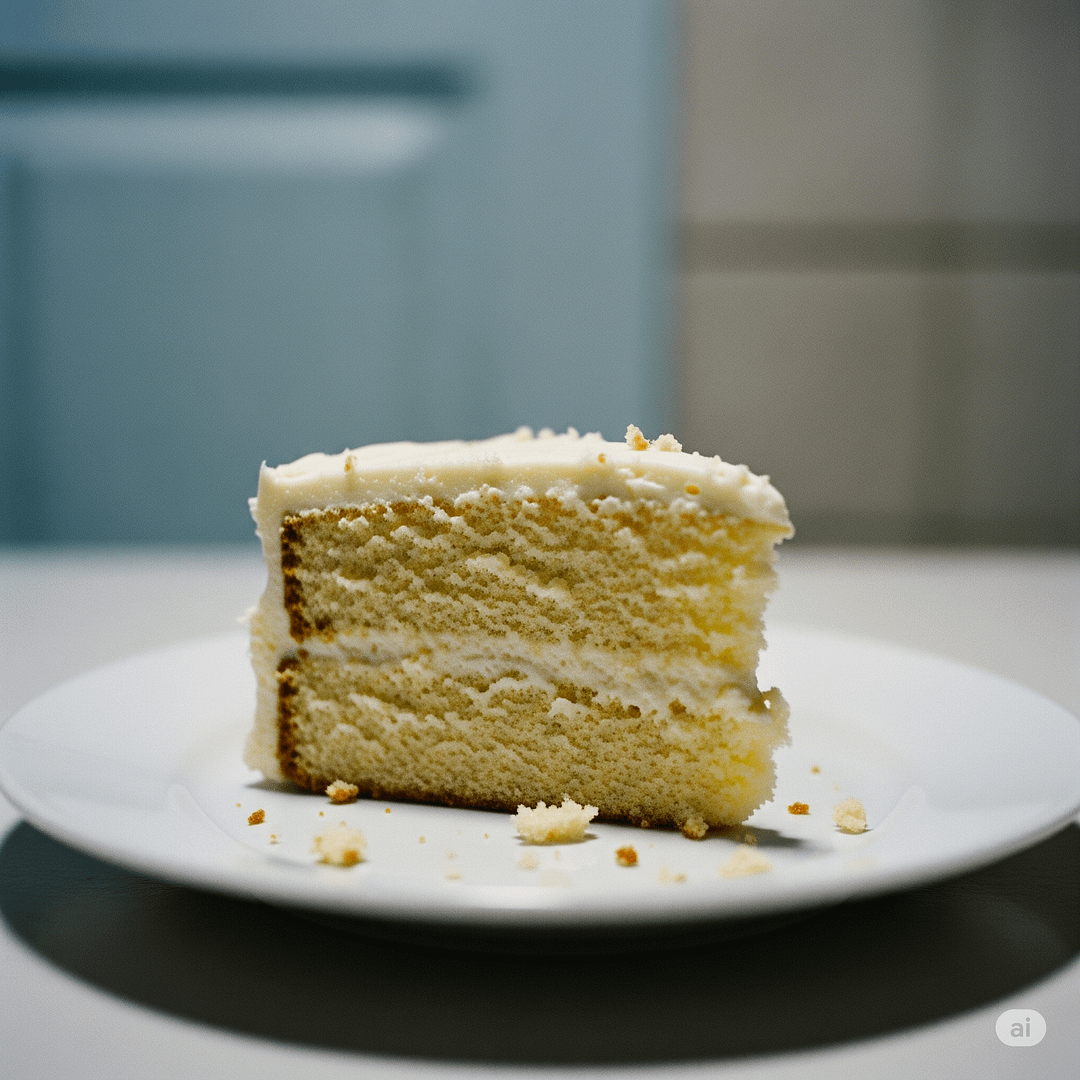
Why Is Your Cake Always Dry and Crumbly? The Fixes Revealed
We’ve all been there. You spend time gathering ingredients, meticulously following a recipe, and eagerly anticipate that first bite of a tender, moist cake. Instead, you’re met with a dry, crumbly disappointment that begs for a glass of milk just to get it down. It’s frustrating, but the good news is, a dry cake is almost always preventable!
Understanding why your cake turns out dry and crumbly is the first step to achieving baking bliss. Let’s dive into the common culprits and, more importantly, the simple fixes that will transform your baking results.
The Core Culprits: Why Your Cake Lacks Moisture
A cake’s moisture comes from a delicate balance of wet and dry ingredients, and several factors can throw this balance off, leading to a parched crumb.
- Inaccurate Ingredient Measurement (Especially Dry Ingredients): This is, hands down, the most common reason for a dry cake. Adding too much flour is like adding too many sponges to a bowl of water – they’ll soak up all the liquid, leaving nothing for the cake. Flour, cocoa powder, and even sugar (in excess) can absorb moisture.
- The Science: Flour’s proteins (gluten) develop when hydrated. Too much flour means too much protein vying for too little liquid, resulting in a dense, dry structure. Cocoa powder is particularly absorbent.
- The Fix: Invest in a digital kitchen scale. It’s the single most impactful tool for consistent baking results. Seriously, cup measurements for flour can vary wildly. If you must use cups, remember to spoon and level your flour (spoon flour into the measuring cup, then level off with a straight edge) – never scoop directly from the bag, as this compacts the flour, leading to too much.
- Tool Tip: Need to convert between grams and cups for a recipe? Our Kitchen Measurement Converter tool is your best friend for precise ingredient scaling!
- Over-baking: Even if your measurements are perfect, leaving your cake in the oven for too long is a surefire way to evaporate its precious moisture. High heat for extended periods will dry out anything.
- The Science: Heat causes water to turn into steam, which initially helps the cake rise. But prolonged heat continues to drive out moisture, solidifying the structure beyond its tender point.
- The Fix: Start checking your cake for doneness a few minutes before the recipe’s minimum bake time. Use the toothpick test: insert a toothpick into the center; it should come out with a few moist crumbs, not wet batter, and certainly not completely clean (a clean toothpick often means it’s already overbaked). Learn to trust your instincts and your oven.
- Oven Temperature Inaccuracies: Many home ovens run hotter or colder than their display indicates. An oven that’s too hot can lead to rapid browning on the outside while the inside dries out, or an oven that’s too cool might extend baking time unnecessarily, also leading to dryness.
- The Science: Consistent, accurate heat ensures even baking and proper moisture retention.
- The Fix: Get an inexpensive oven thermometer and keep it inside your oven to verify the actual temperature. Adjust your oven’s setting accordingly. For instance, if your oven reads 350°F but the thermometer says 375°F, set your oven to 325°F.
- Using Cold Ingredients: While some recipes specify cold ingredients, most cake recipes benefit from room temperature ingredients (especially butter and eggs). Cold ingredients don’t emulsify as well, leading to a lumpy batter and uneven distribution of fats and liquids, which contribute to moisture.
- The Science: Room temperature butter creams better with sugar, creating tiny air pockets that contribute to a light, airy, and moist crumb. Cold eggs can curdle the batter.
- The Fix: Take your butter and eggs out of the fridge at least 30 minutes to an hour before you plan to bake. For a quicker fix, you can place eggs in a bowl of warm (not hot) water for 5-10 minutes.
- Overmixing the Batter: Once you add flour to your wet ingredients, stop mixing as soon as everything is just combined. Overmixing develops too much gluten in the flour, resulting in a tough, chewy, and ultimately dry cake.
- The Science: Gluten develops when flour and water are combined and agitated. More agitation means more gluten development, leading to a denser, less tender crumb.
- The Fix: Mix on low speed, or by hand, until no streaks of dry flour remain. A few small lumps are perfectly fine and often preferred!
- Not Enough Fat or Liquid (or the Wrong Type): Fats (butter, oil) and liquids (milk, buttermilk, yogurt, sour cream) are crucial for moisture. If a recipe is poorly balanced, or you’ve made a substitution that reduces these, your cake will suffer.
- The Science: Fats tenderize the cake by coating gluten strands, preventing them from forming strong networks. Liquids hydrate starches and proteins. Ingredients like buttermilk or sour cream also add acidity, which tenderizes the crumb and reacts with baking soda for a lighter texture.
- The Fix: Stick to the recipe’s specified fats and liquids. If a recipe consistently yields a dry cake, consider increasing the liquid content by a tablespoon or two next time, or adding a rich ingredient like sour cream or plain yogurt (1/4 to 1/2 cup for an average cake). Cakes made with oil tend to stay moist longer than butter-based cakes, as oil remains liquid at room temperature.
Saving a Dry Cake (If All Else Fails!)
Even if your cake comes out a little dry, there are ways to rescue it:
- Simple Syrup: Brush warm simple syrup (equal parts sugar and water, boiled until dissolved) onto the cake layers. This adds immediate moisture and can even infuse extra flavor.
- Milk or Liqueur Soak: For a richer fix, gently brush milk, buttermilk, or even a complementary liqueur (like rum for a chocolate cake) over the cake layers.
- Generous Frosting: A thick, moist frosting (like buttercream or cream cheese frosting) acts as a barrier, sealing in any remaining moisture and adding its own richness.
Baking Success Starts with Good Habits
Achieving a consistently moist cake is less about magic and more about understanding the science and being meticulous with your process. By paying attention to measurements, oven temperature, and mixing techniques, you’ll say goodbye to dry, crumbly cakes for good.
Tool Tip: Before you start baking, ensure you have all your ingredients ready! Use our Ingredient Checklist Generator Tool to prepare for a seamless baking experience. And if you’re managing multiple baking tasks, our Kitchen Multi-Timer Tool can help you keep track of different bake times!
Frequently Asked Questions (FAQ)
Can I fix a cake that’s already baked and dry?
Yes! While prevention is key, you can rescue a dry cake by brushing it with simple syrup, milk, or a complementary liqueur. A generous layer of moist frosting also helps to seal in moisture and improve texture.
Does using oil instead of butter make a cake more moist?
Generally, yes. Oil remains liquid at room temperature, while butter solidifies. This means oil-based cakes often have a more consistently moist and tender crumb and tend to stay fresh longer. However, butter offers a richer flavor.
How do I know if I’m overmixing my cake batter?
Overmixing usually occurs after you’ve added the dry ingredients. Look for the batter becoming overly smooth, elastic, or gluey. Stop mixing as soon as no streaks of dry flour are visible. A few small lumps are normal and desirable.
Is it better to use cake flour for a moister cake?
Cake flour has a lower protein content than all-purpose flour, which results in less gluten development. This can lead to a more tender and delicate crumb, contributing to a perceived “moister” texture. However, proper technique is still crucial, even with cake flour.
What’s the best way to store a cake to keep it moist?
Once cooled, store your cake at room temperature in an airtight container for up to 2-3 days. For longer storage, wrap individual slices tightly in plastic wrap and then foil, and freeze for up to 2-3 months. Thaw at room temperature.
Our Products
-
Unique Book Coffee Cup – Stack of Books Design
$19.12 – $19.28Price range: $19.12 through $19.28 Select options This product has multiple variants. The options may be chosen on the product page -
Salt & Pepper Electric Grinder – Rechargeable
$27.70 Select options This product has multiple variants. The options may be chosen on the product page -
Glass Storage Jar – Cork Lid & Minimalist Design
$29.16 Select options This product has multiple variants. The options may be chosen on the product page -
Food grade Silicone Splash Screen – Mess-Free Cooking
$24.55 Select options This product has multiple variants. The options may be chosen on the product page -
Stainless Steel Corn Cob Holders – Mess-Free
$12.35 Select options This product has multiple variants. The options may be chosen on the product page -
Silicone Donut Mold – Makes 6 Non-Stick Donuts
$9.47 Select options This product has multiple variants. The options may be chosen on the product page
Products
-
Unique Book Coffee Cup – Stack of Books Design
$19.12 – $19.28Price range: $19.12 through $19.28 Select options This product has multiple variants. The options may be chosen on the product page -
Salt & Pepper Electric Grinder – Rechargeable
$27.70 Select options This product has multiple variants. The options may be chosen on the product page -
Glass Storage Jar – Cork Lid & Minimalist Design
$29.16 Select options This product has multiple variants. The options may be chosen on the product page -
Food grade Silicone Splash Screen – Mess-Free Cooking
$24.55 Select options This product has multiple variants. The options may be chosen on the product page


